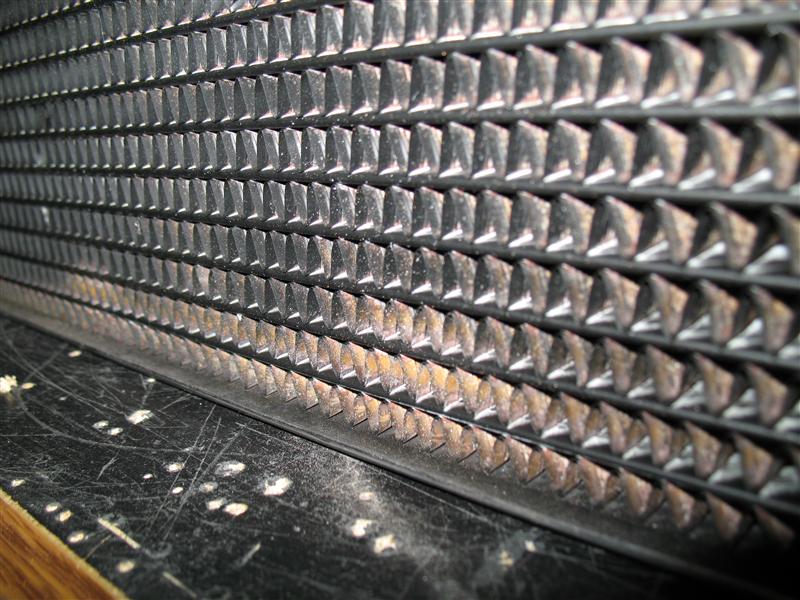
I went with a 4x120mm radiator. Since I was mounting fans on only one side, I removed the mounts from the other side of the radiator to give it a cleaner look. This turned out really well. When doing the flushing of the radiator I found a small leak. I fixed this with some epoxy filler and sanded it. I used a cheap home water filter when flushing the radiator. Afterwards I spray painted the radiator to give a nice finish, since the factory finish was quite poor.
Tuesday, May 7, 2013
CAD Designs & Water-Jet Cutting
I had a friend give me a quick refresher course on AutoCAD since it had been many years since I had last used it. Designed new backplates for the motherboard and power supply since I was inverting them. After the design work, I had them cut out at a local place that did water-jet cutting. The parts came out very well, although my first attempt was too thing on the front plate. Holes on the motherboard were also filled in with aluminium filler.
Water Blocks
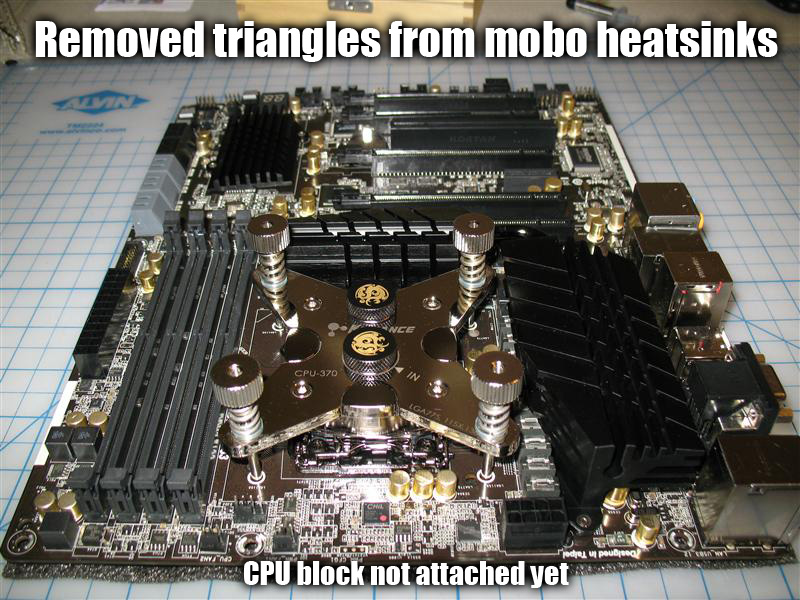
I went Koolance water blocks for both CPU and GPU. The motherboard was slightly modified by removing the covers over the heatsinks. This involved removing the heatsinks completely, removing the covers, and then replacing the heatsinks with new thermal paste.
New Hardware
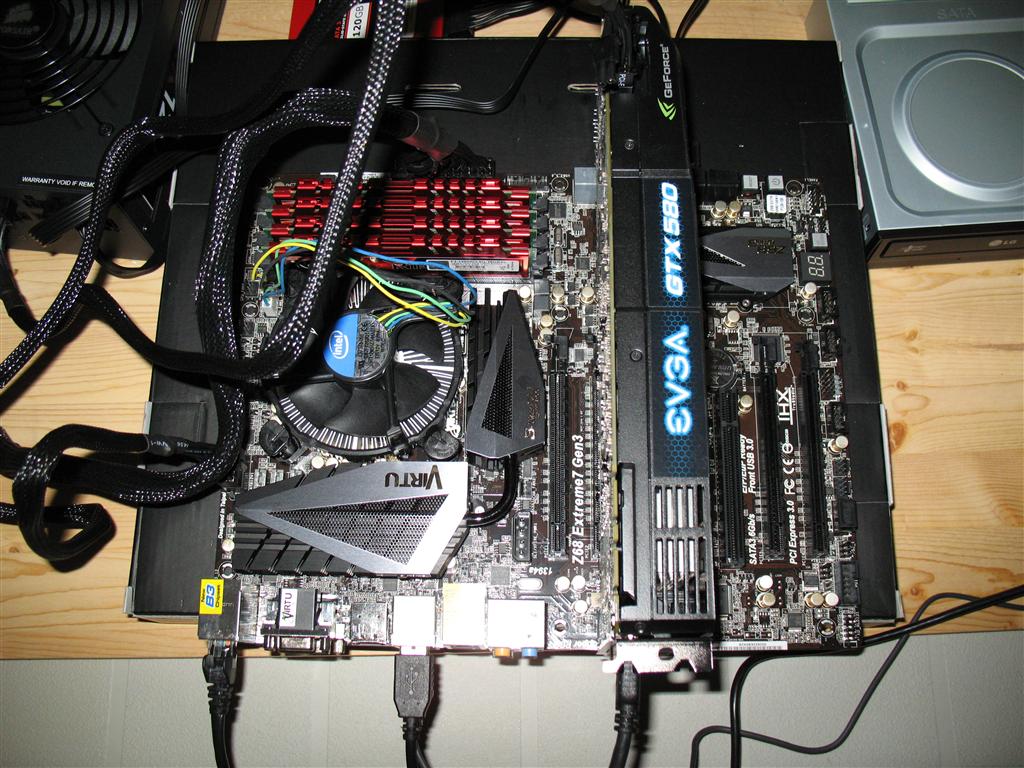
Before beginning and modifying any hardware I first tested to insure that all hardware was working properly in case of need to return products. Always good to test out your hardware ahead of time.
In The Beginning
In September 2011 I began work on my first water-cooled custom themed PC build. It would take months to complete and far too many hours of work. It was to be my new PC for the arrival of the highly anticipated MMORPG Star Wars: The Old Republic. The following is a chronicle of that build in pictures.
Subscribe to:
Posts (Atom)